The following is a list of steps to follow to have you own fully operational Ethereum full node (note: not an archive node) runnnin on geth on a Raspberry Pi4.
In order to follow this guide a little experience with Linux is recomended.
Hardware Requirements:
- Raspberry PI 4 Model B 4GB, nothing less
- Samsung SSD-HD T5 da 500 GB, USB 3.1 Gen 2. Yes, it must be SSD, 500gb minimum
- LABISTS Raspberry Pi 4 Kit. Case, fan, power supply, cables and all the rest. Save a lot of time, hastle and some money with this.
You can easylly find those at Amazon, total cost is under 180€
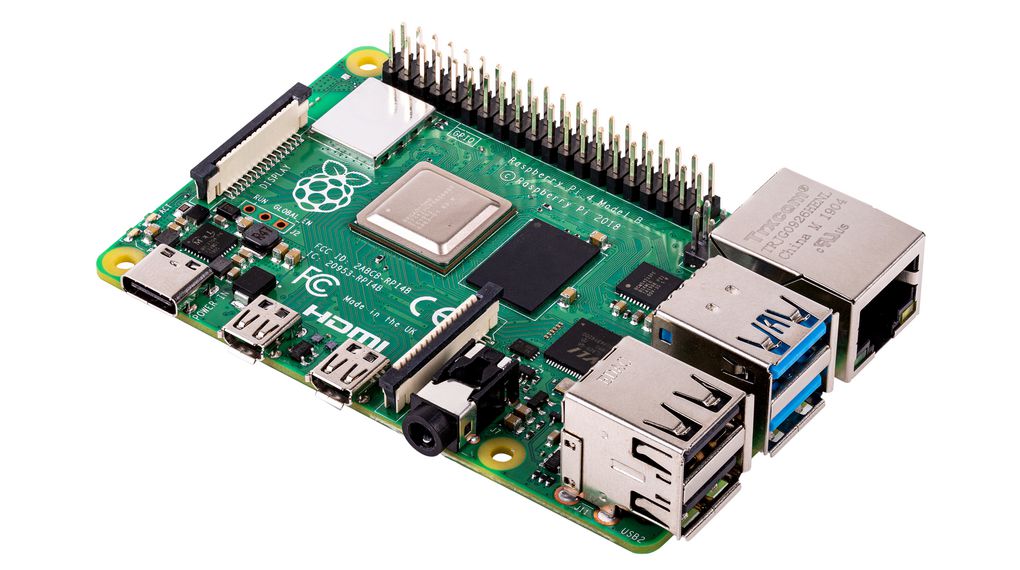
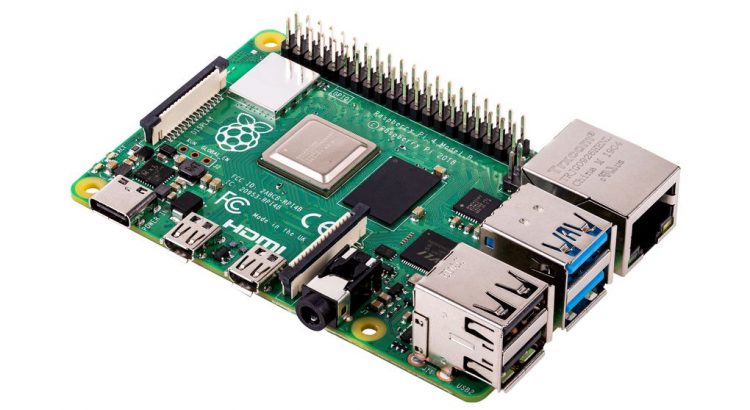
Raspberry Pi4 

Initial steps
There are a few initial steps that require you to set up the Raspberry so that it boots properly and works. There are tons of tutorials and a nice official documentation about that so I won’t go over it here.
Here they are:
- download the most recent image of the OS
- use balena etcher to write it to the SD card
- boot and login as root
- run an “apt-get update” + “apt-get upgrade”
- setup networking so that you can navigate
- connect the SSD
- format and partition as 1 single ext4 partition
- create a folder /mnt/Ethereum
- edit fstab to mount the ssd under /mnt/Ethereum
At this point you should have a Raspberry working. Reboot and check that you can access internet and have the ssd partition mounted.
Optimizations for Raspberry Pi4
Decrease the RAM allocated to the GPU. Edit /boot/config.txt and add or edit the following line:
gpu_mem=16Invoke 64 bits kernel. Edit /etc/systemd/system.conf, and add or edit the following line:
arm_64bit=1Reboot for the changes to take effect
SSD speed Requirements
Before moving forward, your setup requires a very high-speed disk IO throughput. You can test the performance of your SSD disk using the following commands:
Disk write:
$ dd if=/dev/zero  of=/mnt/Ethereum/deleteme.dat bs=32M count=64 oflag=direct
64+0 records in
64+0 records out
2147483648 bytes (2.1 GB, 2.0 GiB) copied, 13.6021 s, 158 MB/s
Disk read:
$ dd if=/mnt/Ethereum/deleteme.dat of=/dev/null bs=32M count=64 iflag=direct
64+0 records in
64+0 records out
2147483648 bytes (2.1 GB, 2.0 GiB) copied, 22.3361 s, 96.1 MB/s
Below 50MB/s (write/read), I wouldn’t recommend trying to syncing a Geth node because you might never be able to reach the head and complete the sync.
Remove /mnt/ssd/deleteme.dat after the performance test.
Move swap to SSD
Geth can consume a lot of memory during the syncing process so it is highly suggested that you create a swap file (overflow RAM) to prevent any kind of OutOfMemory error. It is also strongly advised to put the swap file on the fastest disk, which is the SSD in our case.
Edit the file /etc/dphys-swapfile
-
replace CONF_SWAPSIZE=100 by CONF_SWAPSIZE=8192 to allocate a 8GB SWAP with
CONF_SWAPSIZE=8192 - replace CONF_SWAPFILE=/var/swap to locate the swap on the SSD
CONF_SWAPFILE=/mnt/Ethereum/swap.file
$ sudo vi /etc/dphys-swapfile
CONF_SWAPSIZE=8192
CONF_MAXSWAP=8192
CONF_SWAPFILE=/mnt/Ethereum/swap.file-
Restart the swap
$ sudo /etc/init.d/dphys-swapfile restart
Install Geth
You can use a pre-build binary or compile from source. Unless you have specific need just go with the prebuild stable version.
Prebuild binary (easy peasy)
Head to https://geth.ethereum.org/downloads/ and download the right stable version for your architecture (ARM).
Congratulations, you are almost done
Geth form source (are you sure?)
First you have to download and install Go.
Get your CPU and OS version Navigate to https://golang.org/dl/ and get the last available release for ARM
wget https://golang.org/dl/go1.15.3.linux-armv6l.tar.gzsudo tar -C /usr/local -xvf go1.15.3.linux-armv6l.tar.gzsudo chown root:root /usr/local/gosudo chmod 755 /usr/local/go
Add GO to your path. Depending on the shell you are using you might need to change a different .rc file (/etc/profile, .bashrc, .zshrc…). Change the configuration file, reload it and test. Somehow like this:
export PATH=$PATH:/usr/local/go/binecho $PATHgo version
Then
sudo apt install unzip git sysstat ntpdate
sudo apt install make htop build-essential
Get the last version of geth from the git repo and compile it
git clone https://github.com/ethereum/go-ethereum.git
cd go-ethereum
make geth
… wait some minutes …
The running environment
Folder structure
Assuming that your SSD partition is mounted under /mnt/Ethereum, proceed to make a similar working directory structure for geth
├── bin│ ├── geth -> geth-1.9.23-stable│ └── geth-1.9.23-stable├── datadir│ ├── geth│ │ └── chaindata│ └── keystore└── geth.sh
Add geth to your system path (make sure /usr/local/bin is in that path)
cd /usr/local/binln -s /mnt/Ethereum/geth/bin/geth .
Launch Script
Now we write the geth.sh script you saw before. This launch script is a convenient way to run geth with all the configurable parameters you want.
Have a look at https://github.com/ethereum/go-ethereum/wiki/Command-Line-Options for all the options.
Write this file as /mnt/Ethereum/geth/geth.sh
#!/bin/bash## DEFINE PARAMSSYNCM="--syncmode fast"CACHE="--cache 256"GARBC="--gcmode full"DATAD="--datadir /mnt/Ethereum/geth/datadir"IDENT="--identity BlockchainCaffe"#ETHST="--ethstats should be nodename:secret@host:port"RPC='--rpc --rpccorsdomain "*" --rpcapi="db,eth,net,web3,personal,web3" --allow-insecure-unlock'WSC='--ws --wsaddr "localhost" --wsport "8546" --wsorigins "*" --wsapi="db,eth,net,web3,personal,web3"'GETH_PARAMS="$SYNCM $CACHE $GARBC $DATAD $IDENT $ETHST $RPC $WSC"## SET TIMEntpdate -s time.nist.gov## START GETHeval "/usr/local/bin/geth ${GETH_PARAMS}"
Systemctl Service
We will start the node as a service, so that it starts at boot in the background.
First we create the service script:
cat > /etc/systemd/system/eth-node.service <<'EOF'Description=Ethereum (geth) Node ServiceAfter=network.target[Service]Type=simpleUser=rootWorkingDirectory=/mnt/Ethereum/gethExecStart=/mnt/Ethereum/geth/geth.shRestart=on-failureRestartSec=60StandardOutput=syslogStandardError=syslogSyslogIdentifier=Geth[Install]WantedBy=default.targetEOF
Them we enable and start the script
systemctl start eth-nodesystemctl enable eth-node
Then check the status with
systemctl status eth-nodeRunning The node
Open a couple of shells (tmux is your friend) and monitor the node activity
journalctl -f | grep -i gethstart the node with
systemctl start/stop/restart eth-nodeallow some time to connect to another node (peer-2-peer/UDP) or provide some boot-nodes. Then the Block sync will Start
Each new block downloaded will show in a new journalctl log line and look like this:
Oct 19 12:56:45 cloudpi Geth[30657]: INFO [10-19|12:56:45.545]Imported new block receipts count=2048 elapsed=2.181snumber=1272935 hash="f64f40…85c7f1" age=4y7mo1w size=3.79MiB
the age parameters will gradually shorten and go to zero
Now just wait
Once all this is up and running (even afther a reboot) it will take some time to have a fully operational node. There are a few steps that will take quite some time:
- connecting to peers
- download the chain to disk
- sync the status
At the time of the writing of this post (October 2020) the numbers are:
- size of the chaindata folder : 320Gb
- time to download the chaindata : about 28 hrs
- time to complete the sync : about 10 days.
You can connect to the node and use CLI commands to check on it
/mnt/Ethereum/geth/datadirgeth attach geth.ipc
Once in the CLI mode some usefull commands are:
net.listening # are we able to get connections?net.peerCount # how many other nodes are we connected toadmin.peers # list of peers we are connected toadmin.nodeInfo # info about the nodeeth.syncing # are we syncing? how much work left to do?